Hardware
Overview
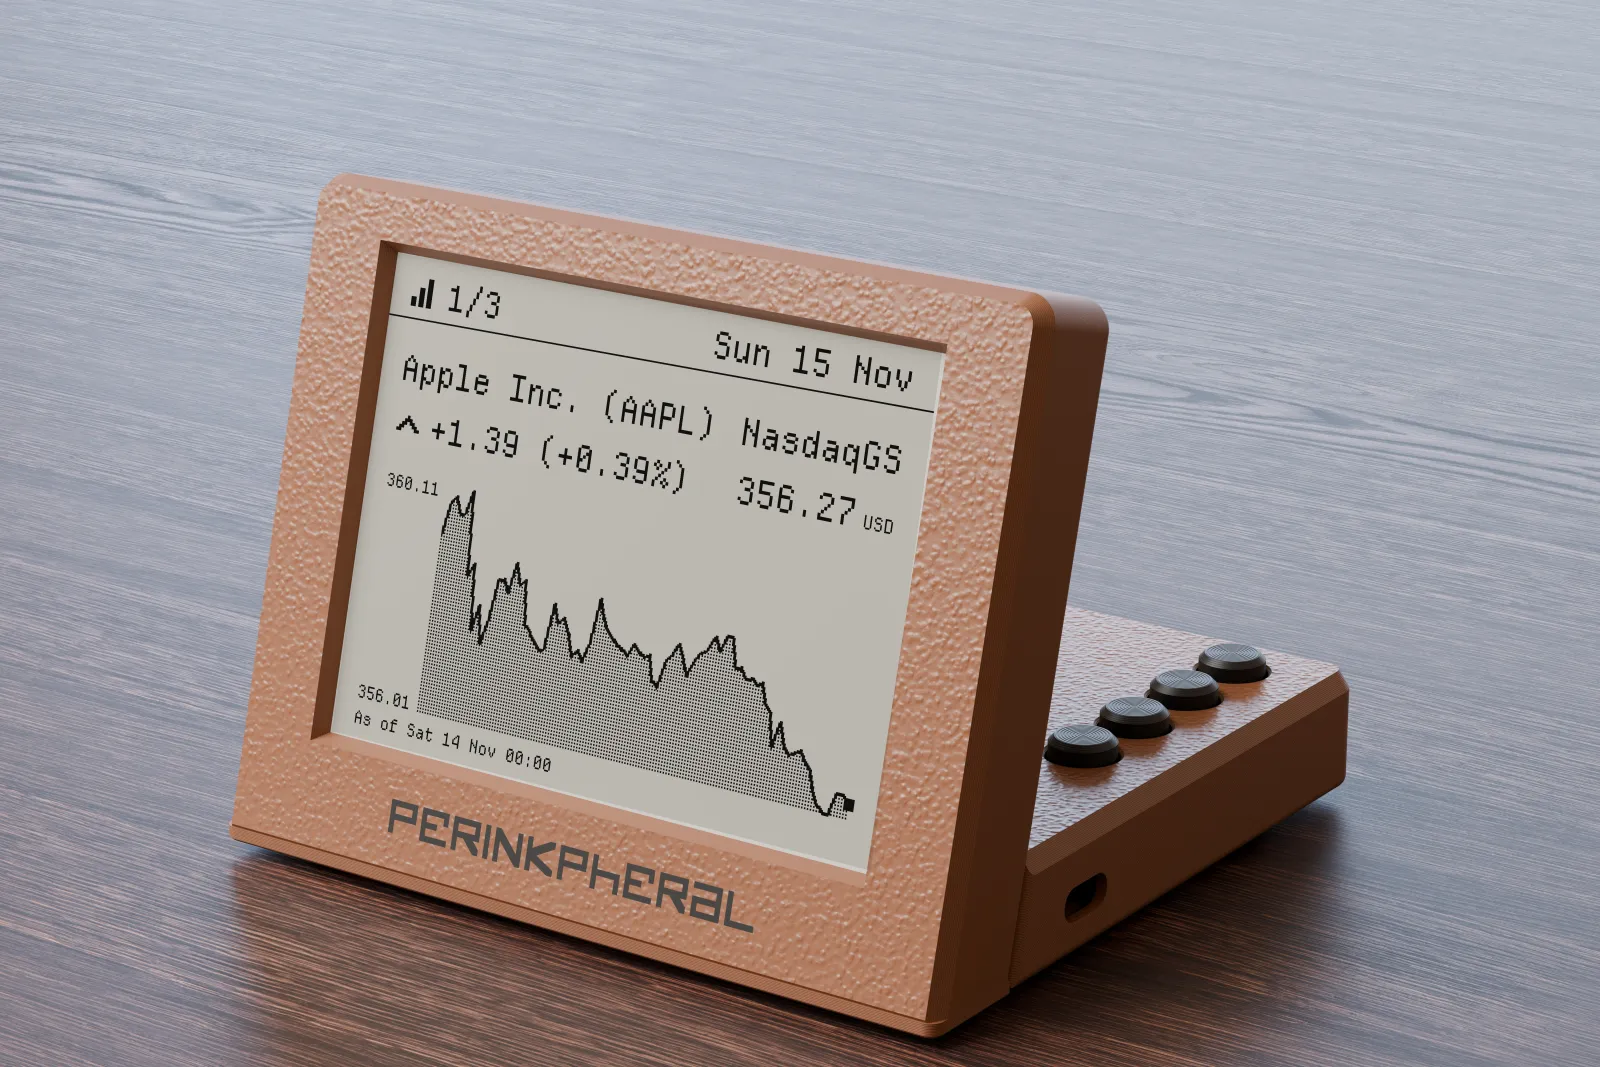
- Size
- 111.5 x 103.5 x 86.5 mm with the feet
- Board
- Seeed Studio XIAO ESP32-C6
- Display
- Waveshare 4.2" e-Paper Module V2, 400 x 300 pixels
- Battery
- Li-Ion 3.7 V, charges over USB-C
- Screws
- M2.5
- Tools
- Soldering iron, screwdriver, FDM printer
Parts
| Part | Model | Qty | Notes |
|---|---|---|---|
| Microcontroller | Seeed Studio XIAO ESP32-C6 | 1 | Has a battery charger and an antenna connector |
| Display | Waveshare 4.2inch e-Paper Module, V2 (SSD1683) | 1 | Version 2 only |
| Antenna | Seeed FPC Antenna A-01, 2.4/5 GHz | 1 | Flat antenna with an 80 mm cable |
| Buttons | "Independent key switch module 4P" | 1 | A small board with four buttons, sold under this name |
| Battery | Li-Ion/LiPo 3.7 V, size code 955465, 4000 mAh | 1 | With a protection board |
| Screws | M2.5 x 4 | 5 | 3 display to frame, 2 back panel |
| Screws | M2.5 x 6 | 7 | 4 bottom to cover, 2 sole, 1 display corner |
| Wire | Thin hook-up wire | ~0.3 m | Buttons and battery |
| Heat shrink tube | 1.5-2 mm | ~0.1 m | Insulating the joined wires |
| Tape | Thin double-sided | - | Antenna and battery |
Before assembly
Display
- Only version 2 of the display works: look for the V2 sticker on the back.
- Unscrew the brass spacers: the display is screwed straight to the frame.
- Plug in the display cable first: the connector cannot be reached once the display is in place.
- Do not bend the thin ribbon at the glass edge sharply.
Board
- The USB-C port goes into the opening in the right wall.
- The battery pads are on the underside of the board.
Battery
- Use a battery with a protection board: the XIAO does not protect the battery from deep discharge.
- The battery compartment fits up to 70 x 54 x 12.5 mm.
Buttons
- Snap off the narrow strip along the edge of the button board, or it does not fit.
- The board sits on two pins in the bottom, solder pads towards the XIAO.
- The caps fit standard 6 x 6 mm buttons.
Printed parts
| Part | Qty | Material | Orientation |
|---|---|---|---|
| Frame | 1 | PLA, copper | Front side down |
| Logo | 1 | PLA, black | Together with the frame, second color |
| Back panel | 1 | PLA, copper | Outer side down |
| Corner bracket | 1 | PLA | Wide side down |
| Base | 1 | PLA, copper | Top side down |
| Bottom | 1 | PLA, copper | Bottom side down |
| Button caps | 4 | PLA, black | Wide side down |
| Feet | 6 | TPU | Flat side down |
- No supports.
- Logo: second color, printed with the frame.
Wiring
| Wire | Pin on the XIAO |
|---|---|
| Display VCC, GND | 3V3, GND |
| Display DIN, CLK | D10, D8 |
| Display CS, DC | D7, D5 |
| Display RST, BUSY | D4, D6 |
| Buttons 1, 2, 3, 4 | D0, D1, D2, D3 |
| Buttons V, G (power) | 3V3, GND: joined to the display's VCC and GND wires |
| Battery +, - | BAT+, BAT- pads under the board |
| Antenna | Antenna connector |
Assembly
Print
Print all parts as listed above. Press the TPU feet into the bottom.
Mount the display
Unscrew the spacers, plug in the cable and put the display into the frame from the back. Three corners: M2.5 x 4 screws. Bottom right corner: M2.5 x 6 through the corner bracket.
Install the board, buttons and battery
Put the XIAO on its two supports with USB-C in the opening of the right wall, the button board on its pins and the battery in its compartment.
Solder
Solder the display and the buttons as in the wiring table, button wires no longer than 35 mm. Solder the battery to the pads under the XIAO.
Antenna
Stick the antenna inside the base cover, away from the battery, and plug it into the XIAO.
Close the case
Screw the back panel to the frame, the bottom to the base and the base to the back panel. Put on the button caps.
Fasteners
| Where | Screw | Qty | Note |
|---|---|---|---|
| Display to frame, three corners | M2.5 x 4 | 3 | |
| Display, bottom right corner | M2.5 x 6 | 1 | Exactly 6 mm, a longer one shows on the front |
| Back panel to frame | M2.5 x 4 | 1 | No longer than 4 mm |
| Back panel to corner bracket | M2.5 x 4 | 1 | |
| Bottom to base | M2.5 x 6 | 4 | Up to 8 mm |
| Base to back panel | M2.5 x 6 | 2 | No longer than 6 mm |
First flash
- Needs
- Chrome or Edge on a computer, a USB-C cable
- Board not found
- Hold BOOT while plugging in
- Wi-Fi setup
- Join
Perinkpheral-XXXX, openhttp://192.168.4.1 - Later updates
- Over Wi-Fi